In a recent class I conducted for beginning photographers, we discussed a number of techniques, including how to influence the final photograph by your choice of camera settings, such as aperture (or what we used to call f-stop). Here are some examples of how you can get different effects based on your aperture setting.
In simplest terms, your camera aperture refers to the size of the opening in the lens that lets the light in. You can make it bigger (lower aperture number, like 1.4 or 1.2), or smaller (higher aperture number, like 16). Most of us pay attention to the effect this has on exposure (example: aperture 1.2 = bigger opening = more light in = good for low light environments), and adjust aperture accordingly.
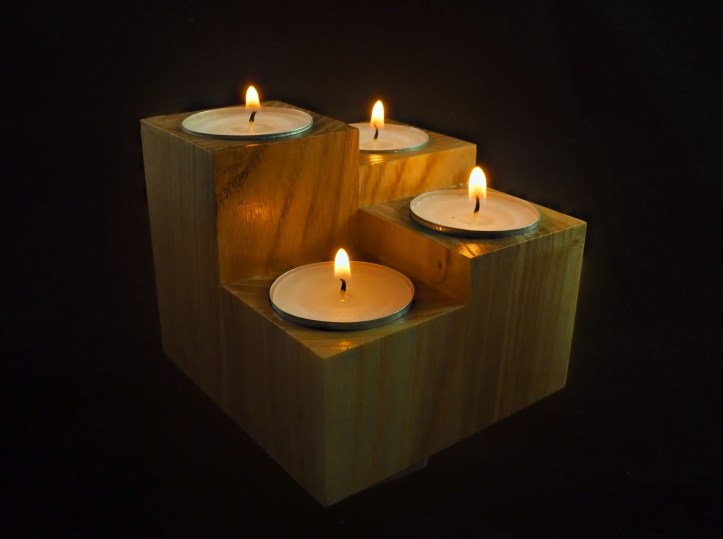
There’s a second effect that the aperture has, namely, how much of your image is in focus. Without diving into the physics of why it is so, simply keep in mind that a more of your shot is in focus (front-to-back) when you use a small aperture size (like f-16), and less is in focus when you use a large aperture size (like f-1.2).
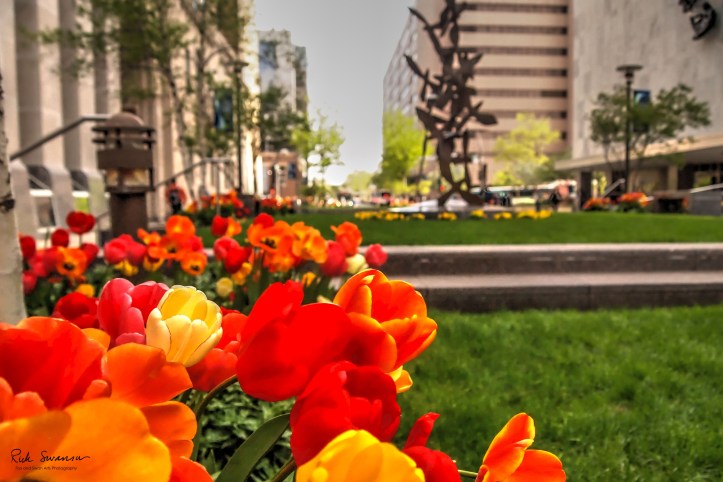
Take the example above. The tulips are sharply in focus, while the sculpture and buildings in the far background are out of focus. To achieve this, I used a larger aperture, and set my focus on the flowers, letting the background fall out of focus. In other words, I took advantage of a shallow “depth of field” to create this effect. The blurred effect in a photo like this is called “bokeh”.
Consider these three versions of the same scene, looking west from the coast of Maui toward the island of Lanai:
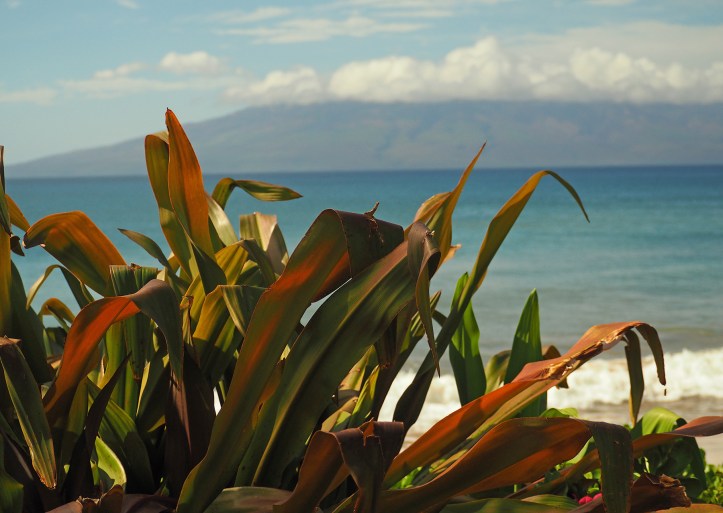

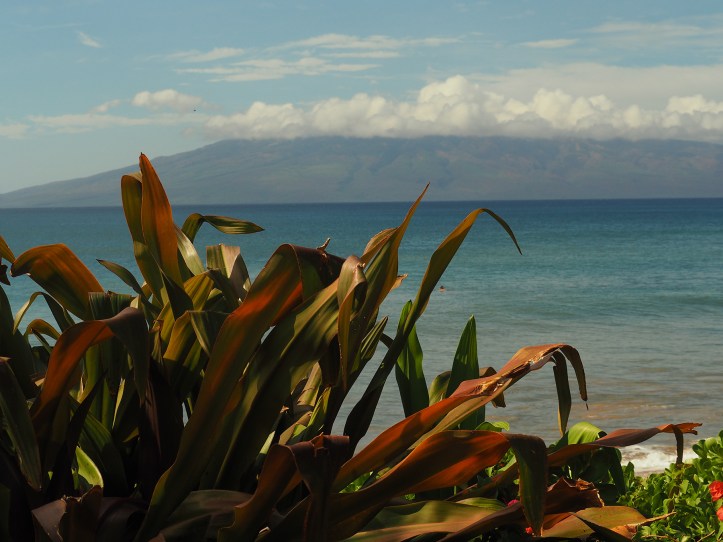
By manipulating my choice of aperture setting – and where I set my focus – I created three distinct views of the same scene. At the time, I didn’t know which version I might prefer, so I shot all three, and then when I got home I could ponder and compare, and settle on one I like best. What’s your preferred version?
Be sure to take advantage of your camera’s aperture settings to vary the final image, and create photos with more visual interest.
